Structuring and distributing Python packages: turning analyses into scientific tools
URSSI
Reusable science
Outline / questions
(The answers come later)
- What is a Python package?
- Why and when would I make one?
- How do I turn my code into a package I can
import? - How do I publish it so others can
pip installit? - What do I need besides code?
Acknowledgments
This module merges three previous URSSI school modules:
- “(re)introducing Python packaging” — David Nicholson
- “Distributing your Science: turning analyses into scientific tools” — Matthew Feickert
- “Structuring & distributing Python packages” — Ty Janoski
More acknowledgments
It also draws on:
Hypothetical workflow for the typical scientist
- Work on idea for paper with collaborators
- Do exploratory analysis in scripts and the Jupyter ecosystem
- As research progresses, need to write more complicated functions and workflows
- Code begins to sprawl across multiple directories
- Software dependencies begin to become more complicated
- The code “works on my machine” — but what about your collaborators?
People heroically press forward, but this is painful, and not reusable.
Reusable science, step by step
In this first scenario, you will probably see a lot of sys.path manipulation and a utils.py:
$ tree examples/edit_sys_path
examples/edit_sys_path
├── code
│   └── utils.py  # helper functions rosen, rosen_der
├── example.py    # want to import rosen, rosen_der
└── jupytext.toml

1 directory, 3 files
# example.py
import sys
from pathlib import Path
# Make ./code/utils.py visible to sys.path
# sys.path[1] should be after cwd and before virtual environment
sys.path.insert(1, str(Path(__file__).parent / "code"))
from utils import rosen, rosen_der
x0 = np.array([1.3, 0.7, 0.8, 1.9, 1.2])
result = minimize(rosen, x0, method="BFGS",
jac=rosen_der, options={"disp": True})
optimized_params = result.x
# array([1.00000004, 1.0000001 , 1.00000021, 1.00000044, 1.00000092])- This is already better than having everything in a single massive file.
- However, now things are tied to this relative path on your computer:
and are brittle to refactoring and change.
But we can do much better.
What is a Python package?
First, let’s define module
Module: an object that serves as an organizational unit of Python code. Modules have a namespace containing arbitrary Python objects. Modules are loaded into Python by the process of importing.
Deconstructing that definition:
- When I write
import modulenameI am loading a module.- But we also talk about “importing a package”!
- This seems to imply a package is a kind of module.
- The module can contain “arbitrary Python objects”.
- That could include other modules!
- It’s almost like we need a special name for a “module that can contain other modules”!
- When I load the module, its name gets added to the namespace.
- namespace: a collection of currently defined names and the objects they reference
- So now I can use the module name to access things inside it with dot notation, like another module that contains a function:
numpy.random.default_rng
Aside: why does Python have modules?
Because it’s good for your code to be modular.

Image credit: realpython.com/python-modules-packages
Where do modules come from?
- The standard library
- Python code
- Compiled C code
- A local file that ends in
.py- (confusingly, also called a “module”)
- Third-party libraries that you
pip installorconda install- i.e., packages
- A local package (we’re getting to this)
What is a Python package?
Now that we spent all that time defining module, we can finally define package:
“A Python module which can contain submodules or, recursively, subpackages.”
“Package” can have multiple meanings
Two main usages — see distribution package vs. import package.
Two types of packages: import package
This is the one we already talked about.
The thing you get when you write import packagename in your code.
We’re going to show you how to make one of these first.
Two types of packages: distribution package
The actual artifact that gets downloaded off the internet and stored on your computer somewhere — like when you run pip install packagename.
We need to learn how to make one of these too!
A vocabulary summary
mypackage/                 # the project folder
└── src/
    └── mypackage/         # the package (importable)
        ├── __init__.py    # makes it a package; defines the public API
        ├── stats.py       # a module
└── helpers.py # another module- A module is a single
.pyfile with definitions (functions, classes, …) - A package is a directory of modules, marked by an
__init__.py - A distribution is the bundled-up package you hand to
pip
“Package” gets used for both the importable folder and the thing on PyPI. Usually it’s clear from context.
Why would I make a Python package?
Fame, glory
$$$
Por amor al arte

When should I turn my code into a package?
Two common cases for research code:
- Code that goes with a research article
- mainly used to reproduce the results
- a.k.a. a (computational) project or a research compendium
- A generalized tool or library that other researchers can use
Packaging code for a paper
- You have multiple scripts that use the same function
- So you want to be able to import that function
- It’s sufficient to make an “import package” you use in scripts (e.g., in a Jupyter notebook)
This kind of package does not necessarily need all the infrastructure you will learn about in this school — such as its own rendered documentation website.
If someone uses the code for your paper, they will get a copy of the code and set it up so they can import it the same way; they don’t expect to
pip install paper.
For more on projects and research compendia in general, see:
- “Good enough practices in scientific computing”
- “How repro-packs can save your future self”
- Turing Way guide: book.the-turing-way.org/reproducible-research/compendia
- Karthik Ram’s 2019 talk: github.com/karthik/rstudio2019
To share a generalized tool
This is what we’re here (mostly) to learn about!
This is when we want to make a “distribution package” too:
- You want people to be able to
pip install awesometool
Before packaging: work in a virtual environment
We covered this in managing your computational environment — here is the one rule that matters once we start packaging:
Always install your package into an active environment — one per project.
That isolates each project’s dependencies (and your in-development package itself) from every other project and from the system Python: no clashes, no “works on my machine”. venv, the conda family, and uv all give you this.
How do I turn my code into a package I can import?
The structure of a Python package
The simplest possible Python package:
simple
└── simple/
└── __init__.py- A directory with a single file in it named
__init__.py- The file can be empty
- The
__init__.pyfile tells Python that “this directory is a package”
How can I import my own code?
This is enough for me to be able to import the package — as long as I’m in the right directory.
- The same is true for any module
- (by which we mean a file that ends in
.py) - I can import it if I’m in the right directory
- This is just because of how Python’s import system works:
- “First check in the current working directory if there’s a
.pyfile, or a directory with an__init__.py, that has the name we’re importing.”
How do I make it so I can
pip install simple- then
import simplewithout being in the right directory?
Note that this is the code I have locally — we aren’t talking about distribution packages yet!
We need one more file: a pyproject.toml.
The bare minimum pyproject.toml
What is a TOML file?
- “Tom’s Obvious Minimal Language”: https://toml.io/en/: “A [configuration] file format for humans”
- Used in other ecosystems
- Nice because parsers map to native types
# This is a TOML document

title = "TOML Example"

[owner]
name = "Tom Preston-Werner"
dob = 1979-05-27T07:32:00-08:00

[database]
enabled = true
ports = [ 8000, 8001, 8002 ]
data = [ ["delta", "phi"], [3.14] ]
temp_targets = { cpu = 79.5, case = 72.0 }

[servers]

[servers.alpha]
ip = "10.0.0.1"
role = "frontend"

[servers.beta]
ip = "10.0.0.2"
role = "backend"
Anatomy of a TOML file
- 1
- a table
- 2
- a key-value pair
- 3
- an array
- 4
- an in-line table
- 5
- a dotted key
Now what?
- Navigate to the directory where your module lives
- Activate your virtual environment
- Type
pip install . - Now you can
importit — from anywhere!
A (slightly) more complicated Python package
Scenario: Sampson is a computational dog scientist.
Sampson has a set of functions they are using across all their projects, so they wrap them up in a package, dogpy.

Sampson’s project dogpy has:
- A
srcdirectory (for “source code”) - The package itself inside
src, a directory nameddogpy - A
pyproject.tomlfile
What’s different here?
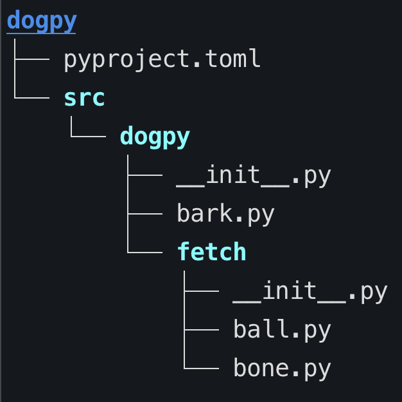
Sampson’s project dogpy has:
Flat vs. src/ layout
- With a flat layout, the package sits next to
pyproject.toml; Python can import it straight from the project directory — including when you didn’t mean to. - With a
src/layout, the only way to import it is to install it, so your tests run against the installed package, exactly as a user would get it. - Aesthetics: it also looks better to have
src,docs,tests.
Both are valid. src/ is the safer default, and what we use below.
The package itself
- We have the
dogpydirectory - It contains one module (a
.pyfile):bark.py - It also contains another directory — the elusive sub-package,
fetch - The
fetchsub-package contains two other modules:ball.pyandbone.py
Why __init__.py anyways?
src/dogpy/fetch/__init__.py
- It initializes your module
- You
importmodules, functions, etc., here - so that your users can get what they need from your package’s namespace
Importing within your package
Inside your package, use relative imports so the package keeps working no matter where it is installed:
src/mypackage/solvers/linear.py
And use __init__.py to decide what your users see:
How should I structure my Python package?
Short version: “flat is better than nested”
- Your users want to write
package.function, notpackage.subpackage.subsubpackage.function - But having one level of sub-packages can help with readability
- Most scientific Python packages have a set of sub-packages, each containing functions:
numpy.random.default_rngsklearn.model_selection.train_test_split
- Your package’s code ≠ your package’s namespace! You control the namespace with imports.
How do I publish my package so others can pip install it?
Now we need a distribution package
We also need to define some more terms so that the rest of this makes sense.
What about setup.py?
- It used to be the case that all distributions were built with a
setup.pyfile - There was only one tool that did this:
setuptools - Now, pure Python projects don’t need a
setup.pyfile at all
The long version: blog.ganssle.io/articles/2021/10/setup-py-deprecated.html
Distribution packages: frontends and backends
To move away from setup.py and setuptools, PEP 517 introduced the idea of “front-ends” and “back-ends”.
Mostly you shouldn’t have to think about this.
But in your pyproject.toml you will specify a build backend: the tool that knows how to take your “source tree” and make a distribution package.
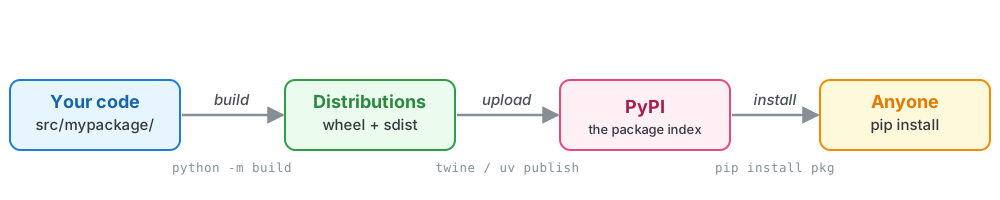
What does “building” even mean?
Distribution packages: formats
Build backends (always) make two types of distribution package: a source distribution (“sdist”) and wheels.
- sdist: literally your project in a compressed archive (
.tar.gz)pipuses this as a fallback if it can’t find a wheel- Downstream package managers use the sdist to provide their own distributions, e.g.
conda, Homebrew
- wheel: a zipfile (
.whl) of the file system structure and package metadata, with any dependencies prebuilt- No arbitrary code execution—only decompressing and copying of files
- Can be platform specific (e.g., Windows 64-bit); matters most for packages with compiled extensions
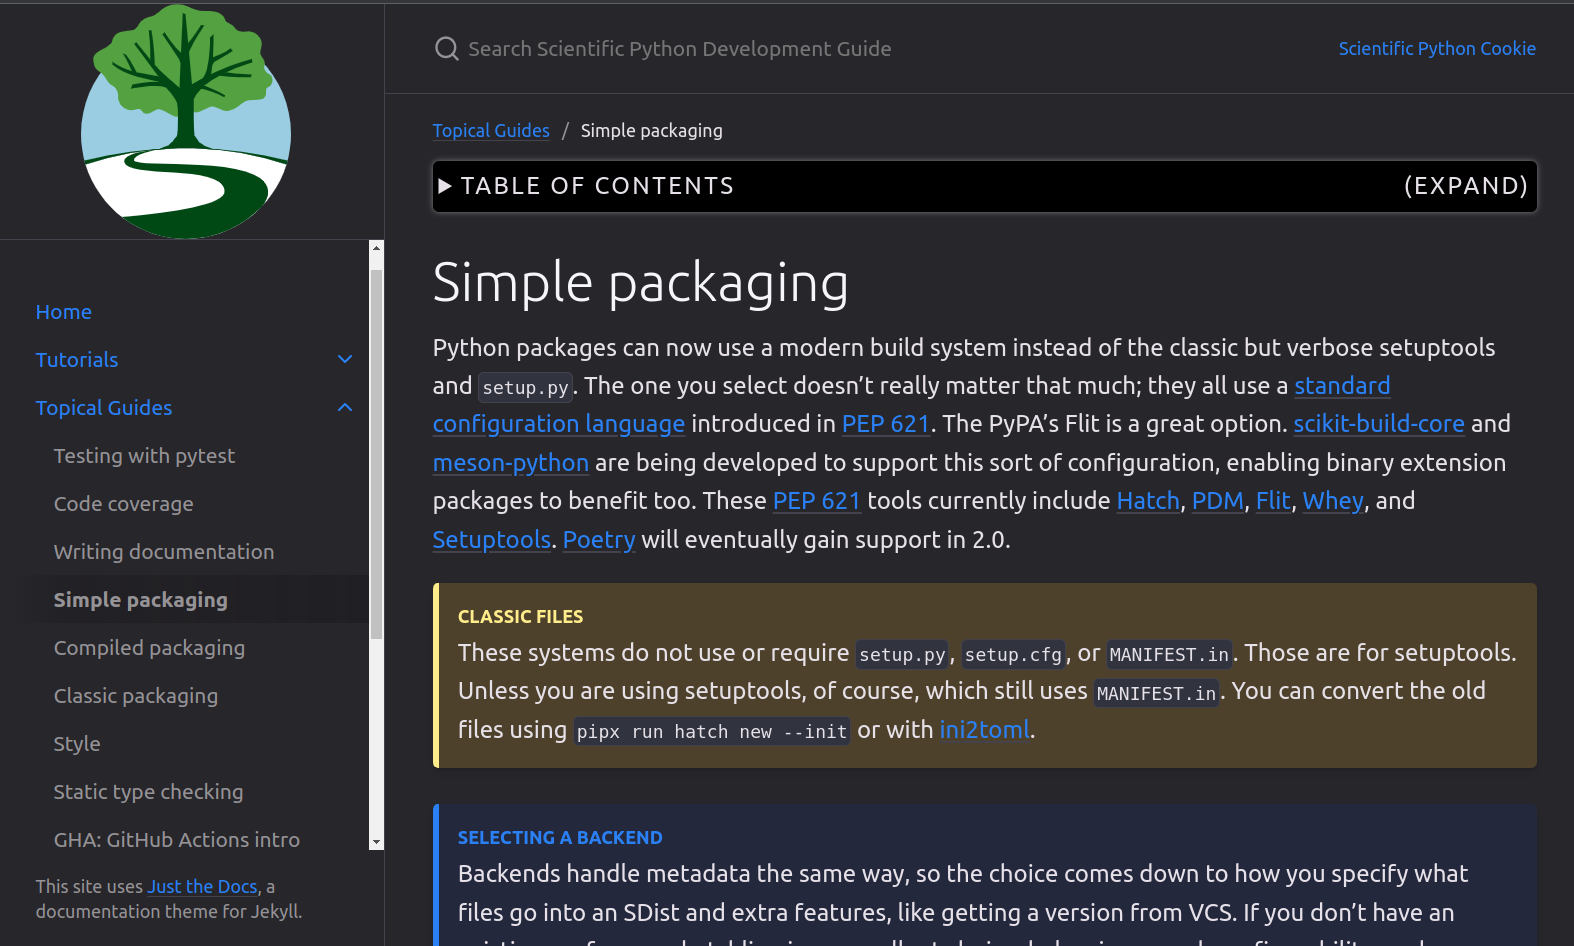
Which build backend?
You have to pick one — and there are a lot of them:
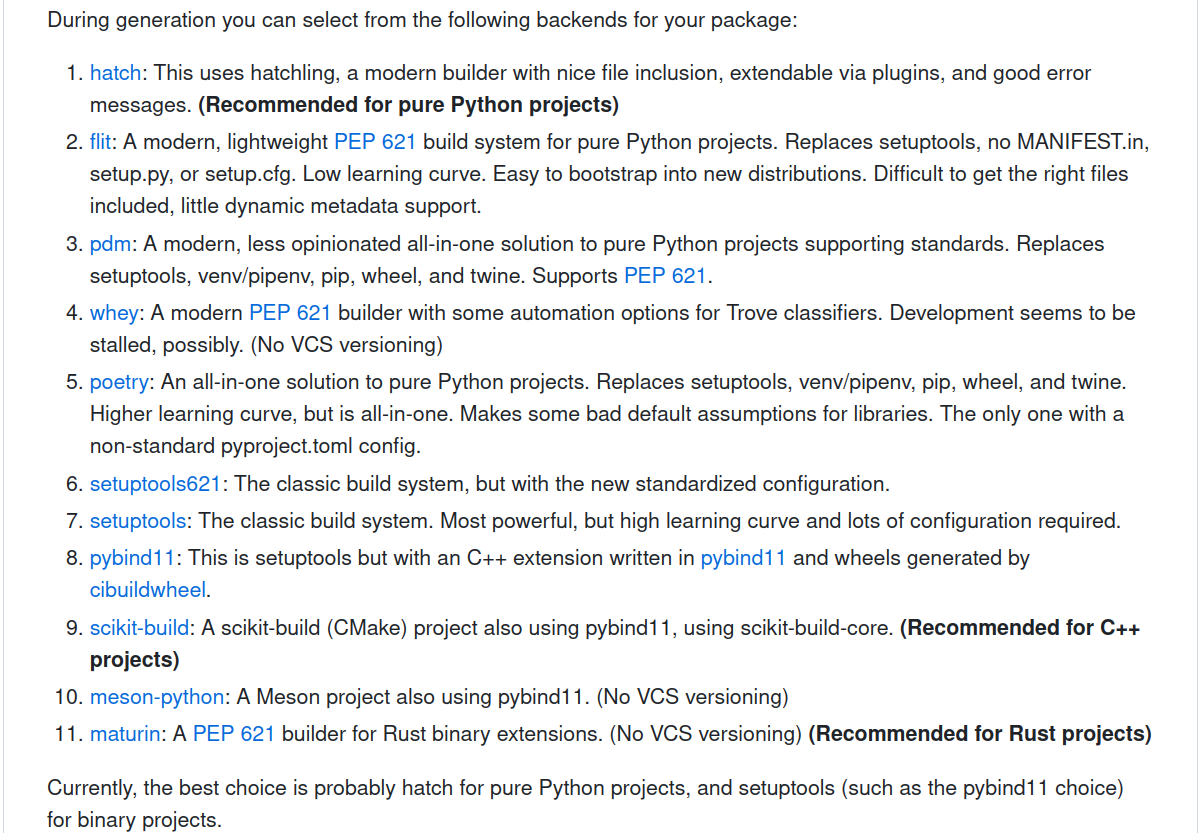
github.com/scientific-python/cookie
The good news: it has never been easier to point a package manager at some code and get it installed and running regardless of operating system or architecture. This is a small miracle.
You can probably default to the simplest thing
- pure Python:
hatchlingor the classicsetuptools - compiled extensions (C/C++/Fortran):
scikit-build-core+pybind11
pyproject.toml: how it gets built
That’s it — the two lines that make your project buildable. Everything else in the file is metadata and tool configuration.
Project metadata: who and what
license = "MIT" is an SPDX identifier — a standard short code for a license, and the modern way to declare it since PEP 639. You’ll still see the older license = { text = "MIT" } and license classifiers in existing projects.
Project metadata: what it needs to run
Optional dependencies (“extras”) that users opt into:
Aside: requires-python and dependencies
Know about SPEC 0, which specifies what versions of Python the core scientific packages support.
Usually you don’t want upper bounds (
>=3.10,<4.0) on Python or your dependencies: iscinumpy.dev/post/bound-version-constraintsPin loosely (
>=) for a library, so it plays nicely with other people’s projects.
Also worth adding: keywords, classifiers, and [project.urls] — these fill out your PyPI page.
pyproject.toml: configuring your tools
The same file configures your dev tools — no more one .cfg per tool:
One file for packaging and your linter, formatter, test runner, type checker. It is the center of a modern Python project.
Installing your code
and now you can use it anywhere the environment is active:
Packaging doesn’t slow you down: editable installs
Build backends allow for editable installs:
Editable installs add the files in your development directory to Python’s import path, so you can develop your code under src/ and have immediate access to it. (You only need to reinstall if you change the project metadata.)
Your first package: the whole recipe
That’s a real package. Everything after this is refinement.
As it grows: subpackages and data files
A package can nest subpackages (each with its own __init__.py) and ship non-code files right alongside the modules.
Small reference data can travel inside the wheel. Large data (gigabytes) is better downloaded on demand.
In the wild: ClimKern’s radiative kernels are multi-GB, so it downloads them from Zenodo (python -m climkern download) instead of bundling them.
Make a module runnable: the main() idiom
Put your logic in functions, then guard the entry point so the file can be imported and run directly:
import mypackage.cli→ definesmain(), runs nothingpython -m mypackage.cli→__name__ == "__main__", somain()fires
Console commands with [project.scripts]
Want your package to provide a terminal command? Point an entry point at a function:
Packaging compiled extensions
(A deeper dive — skip if your project is pure Python.)
Small extra work, modern infrastructure
$ tree examples/compiled_packaging
examples/compiled_packaging
├── CMakeLists.txt      # Addition of CMake
├── LICENSE
├── pyproject.toml      # build backend change
├── README.md
├── src
│   ├── basic_math.cpp  # C++ extension
│   └── rosen_cpp
│       ├── example.py
│       └── __init__.py
└── tests
    └── test_example.py

3 directories, 8 files
Swap the build system
pyproject.toml, using scikit-build-core + pybind11:
# Specify CMake version and project language
cmake_minimum_required(VERSION 3.15...3.30)
project(${SKBUILD_PROJECT_NAME} LANGUAGES CXX)

# Setup pybind11
set(PYBIND11_FINDPYTHON ON)
find_package(pybind11 CONFIG REQUIRED)

# Add the pybind11 module to build targets
pybind11_add_module(basic_math MODULE src/basic_math.cpp)
install(TARGETS basic_math DESTINATION ${SKBUILD_PROJECT_NAME})src/basic_math.cpp:
Installing compiled extensions
Installing locally is the same as for the pure-Python example:
The module name is the one given in C++:
Going further: distributing packages
Distributing via Git
If your code is publicly available in a Git repository, you’ve already done a version of distribution!
# Works for pure-Python packages
$ python -m pip install --upgrade "git+https://github.com/scikit-hep/pyhf.git"

# as well as packages with compiled extensions
$ python -m pip install --upgrade "git+https://github.com/scikit-hep/iminuit.git"

# General pattern (a specific branch, even)
$ python -m pip install "mypackage @ git+https://example.com/repo.git@branch"
Great for trying a branch or an unreleased fix — but for users we want something tidier.
Building distributions: sdist and wheel
Rely on your build backend (e.g., hatchling) plus a build frontend like build:
$ python -m pip install --upgrade build
$ python -m build .
* Creating venv isolated environment...
* Getting build dependencies for sdist...
* Building sdist...
* Building wheel from sdist
* Building wheel...
Successfully built mypackage-0.1.0.tar.gz and mypackage-0.1.0-py3-none-any.whl
$ ls dist
mypackage-0.1.0-py3-none-any.whl   mypackage-0.1.0.tar.gz
Uploading to a package index (PyPI)
Upload the files in ./dist/ to the Python Package Index — pip’s default index — and now anyone can pip install mypackage.
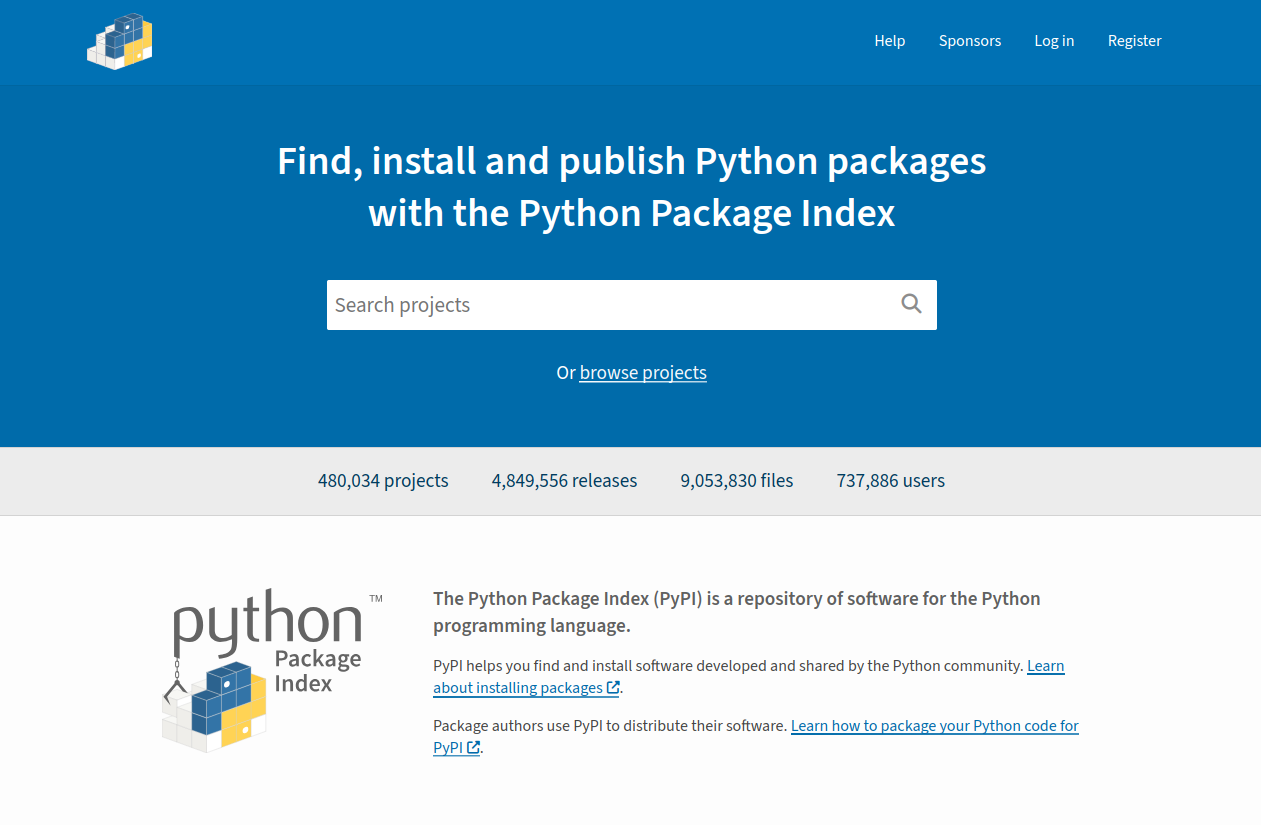
Historically you’d run twine upload. There is now a better way — see “What’s new in 2026”.
When pip isn’t enough: the conda family
Some scientific packages depend on compiled, non-Python libraries (Fortran/C++ wrappers, GPU stacks) that aren’t on PyPI — so pip install alone can’t get you there.
The conda family (conda, mamba, pixi) installs prebuilt binaries: Python and compiled libraries (compilers, Fortran, even the full CUDA stack). Grab those first, then pip:
The trade-off vs. pip: with sdists and wheels, if there’s no compatible wheel, pip falls back to building from source. There is no such fallback if no matching .conda binary exists.
Publishing your package to conda-forge
To let users conda install your package, submit a recipe to conda-forge/staged-recipes:
- Write a small
meta.yaml(name, version, source URL and hash, dependencies) — tools likegrayskullgenerate it from your PyPI release - Open a PR; once reviewed and merged, conda-forge auto-builds binaries for every platform
- You get a feedstock repository that rebuilds automatically each time you publish a new version
Publish to PyPI first — most recipes just point at your PyPI sdist, and conda-forge keeps itself in sync from there.
Application vs. library
We have been reasonably assuming that packaged code will be used in arbitrary environments alongside other compatible code — that is, it is library-like.
For distributing code, that is probably the correct view. But your analysis is not a library: your analysis is an application, a hand-crafted assembly of code from libraries.
While your analysis might run with many configurations of those libraries (reusable), you also want a hash-level specified version for reproducibility: a lock file.
Reproducibility: lock files
Lock files are simple: a hash-level record of every dependency in the environment. They allow reproducibility by being, in effect, a list of every file to download.
They should be programmatically generated from a high-level requirements file, and kept in version control with your analysis.
Comparing to Julia
The approach of pixi is similar to Julia:
Project.toml: describes the project at a high levelManifest.toml: absolute record of the state of the packages in the environment (a lock file)
Julia’s package manager Pkg.jl gives users a high-level interface to edit Project.toml, then automatically updates Manifest.toml in response. Reproducibility of environment by default!
- Library:
Project.tomlin version control - Application:
Project.tomlandManifest.tomlin version control
Areas still to discuss another time
Full environment specification with Linux (Open Container Initiative) container images (Docker, Apptainer, Podman)
Orchestration of multiple environments inside an analysis, using workflow languages
The difficult realities of long-term preservation
- Assumptions of present technologies don’t translate forever into the future; infrastructure goes away
- How to store files that aren’t “code” (images, training data, database files) — cf. Zenodo
What analysis reuse looks like — e.g. RECAST in particle physics
What do I need besides code?
Infrastructure
All the other stuff besides code that makes it easier for
- you to develop and maintain your package
- others to use your package, give you feedback, and contribute
- README
- LICENSE
- Code of conduct
- CHANGELOG
- CITATION.cff
- docs
- tests
- issue tracker
- continuous integration
README
- Often the first thing people see
- GitHub shows this by default
- makeareadme.com
# Package

`package` is a simple Python library that contains a single function
for rescaling arrays.

## Installation

Download the source code and use the package manager
[pip](https://pip.pypa.io/en/stable/) to install `package`:
`pip install .`

## Contributing
Pull requests are welcome. For major changes, please open an issue
first to discuss what you would like to change.

Please make sure to update tests as appropriate.

## License
TBD
Things you want in your README:
- Package name
- Brief description that makes sense to a broad audience
- Visuals! 1 picture = 1k words
- Installation instructions
- Usage
- How to contribute
- Citation information
LICENSE
You are giving other people permission to use your code.
- choosealicense.com
- MIT and BSD are common for open-source scientific software
- Without one, others legally can’t reuse your work
- More on this in the open science module!
Code of conduct
- Establishes expectations for behavior
- Helps create an inclusive community
- opensource.guide/code-of-conduct
- Highly suggest looking at other scientific Python projects, e.g. SciPy’s
CHANGELOG
A human-readable record of changes to your project.
Newest first, grouped by release, with the version numbers following semantic versioning (MAJOR.MINOR.PATCH) — see the documentation and versioning module.
CONTRIBUTING and CITATION.cff
- CONTRIBUTING: how to set up a development environment and submit changes
- CITATION.cff: how to cite the software — GitHub reads this file and renders a “Cite this repository” button
The contributors list matters: when someone lands a PR, add them so they get credit beyond the commit log.
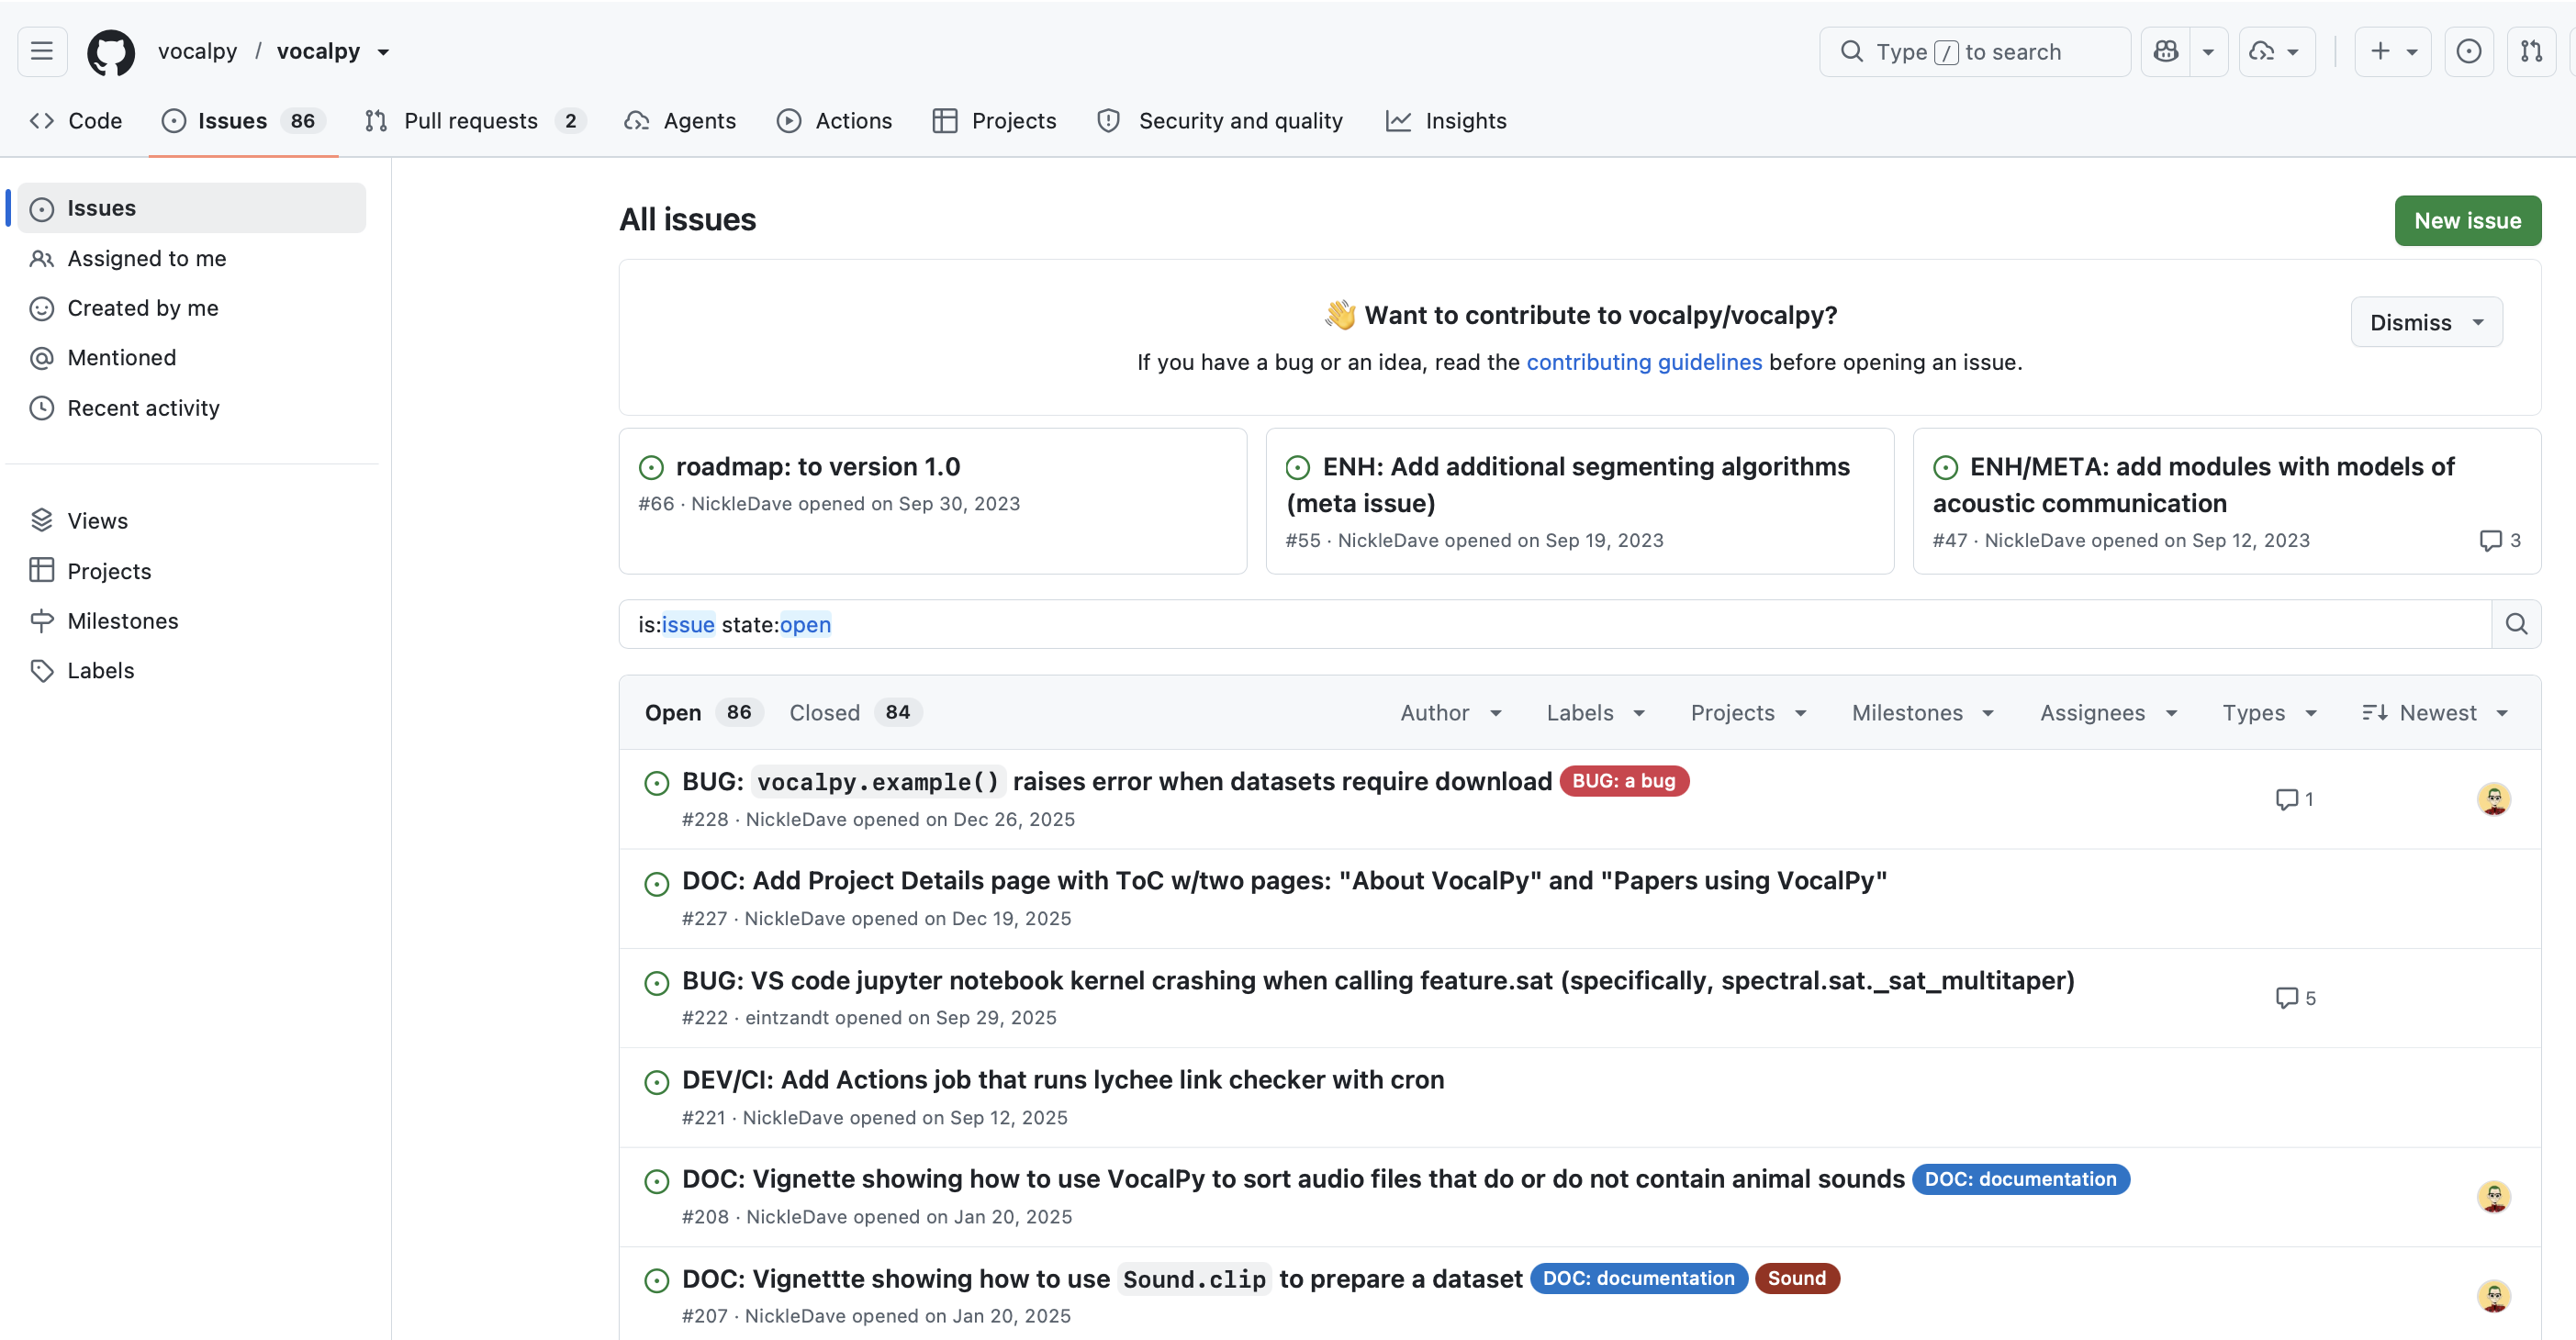
Issue tracker
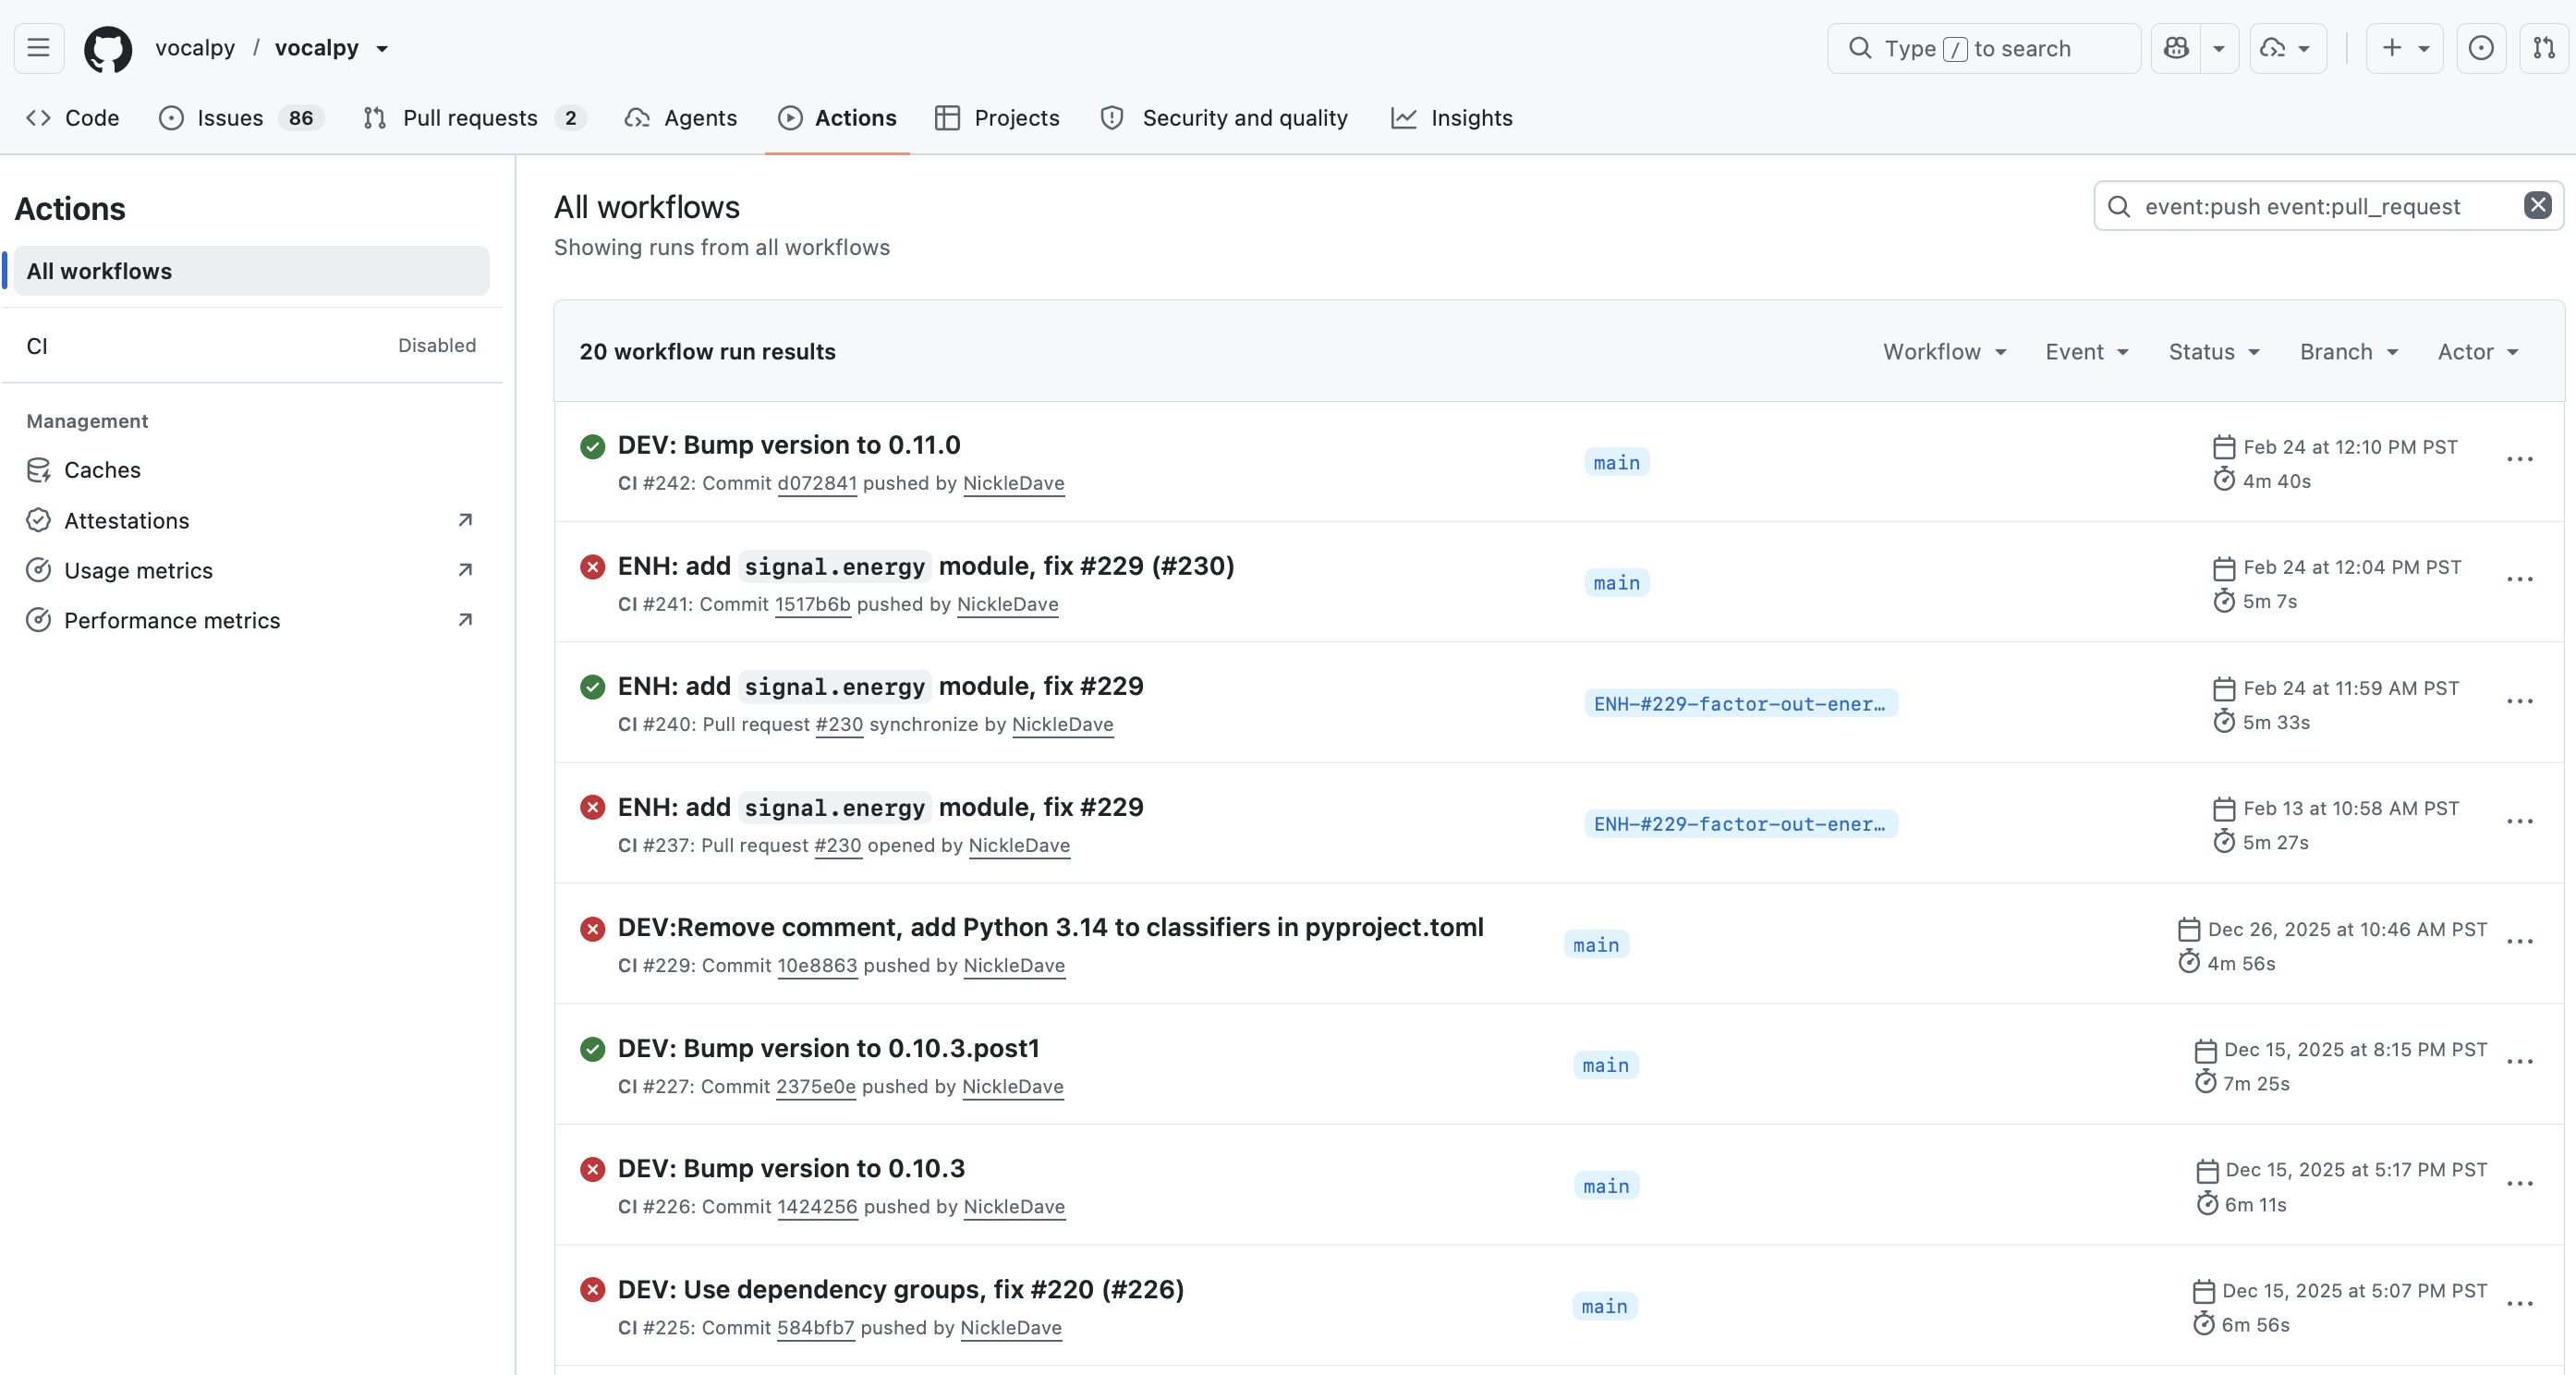
Continuous integration
Make your software citable
The open science module goes deep on this — here is the packaging hook.
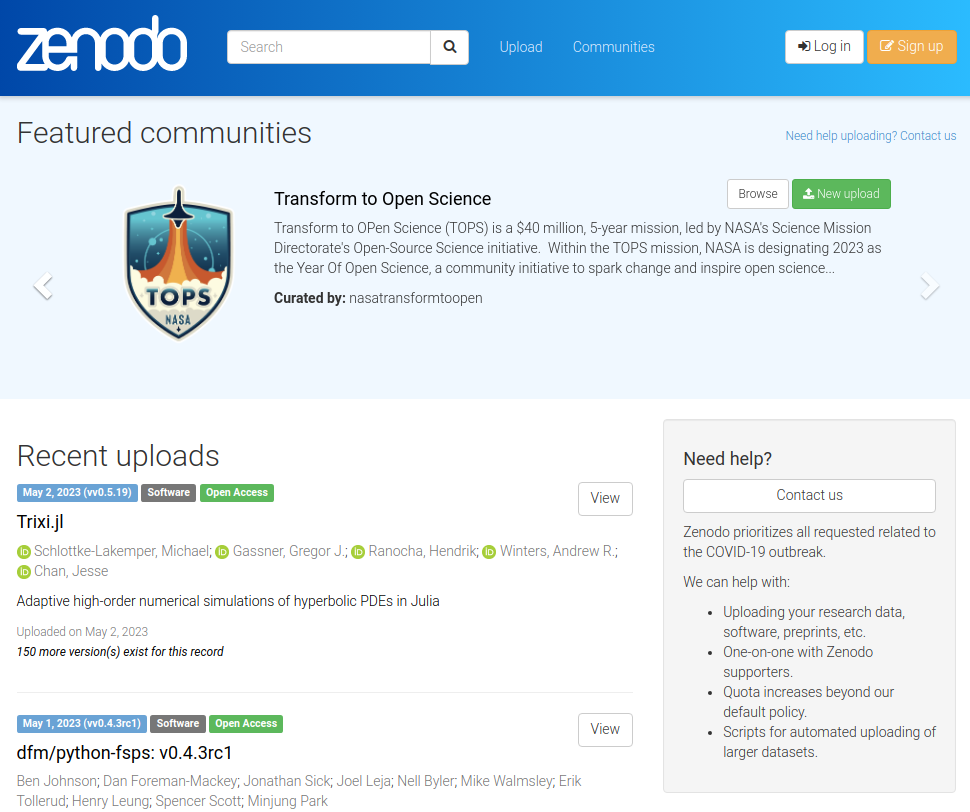
Zenodo archives each GitHub release and mints a DOI:
tag a release → Zenodo mints a DOI → put it in your README and papers.
In the wild: ClimKern, 10.5281/zenodo.10291284
What’s new in 2026
(the field has moved since the 2024 modules)
uv covers the whole lifecycle
uv (from Astral, the Ruff folks) is a fast, Rust-based tool covering the whole lifecycle — an option, not a requirement:
Publishing is safer, too
- 2FA is mandatory on PyPI.
- Trusted Publishing lets GitHub Actions upload via OpenID Connect — PyPI trusts your repository directly, so there are no API tokens to manage or leak. Goodbye,
twine upload. - SPDX license expressions (PEP 639) replace license classifiers.
- Lock files are being standardized across tools.
Don’t start from scratch
Use a template to set up your repository with best practices baked in:
scientific-python/cookie— templates for 11+ build backends, plus CI, linting, and docs scaffoldingcopier— like cookiecutter, but lets you re-apply template updates to an existing project later
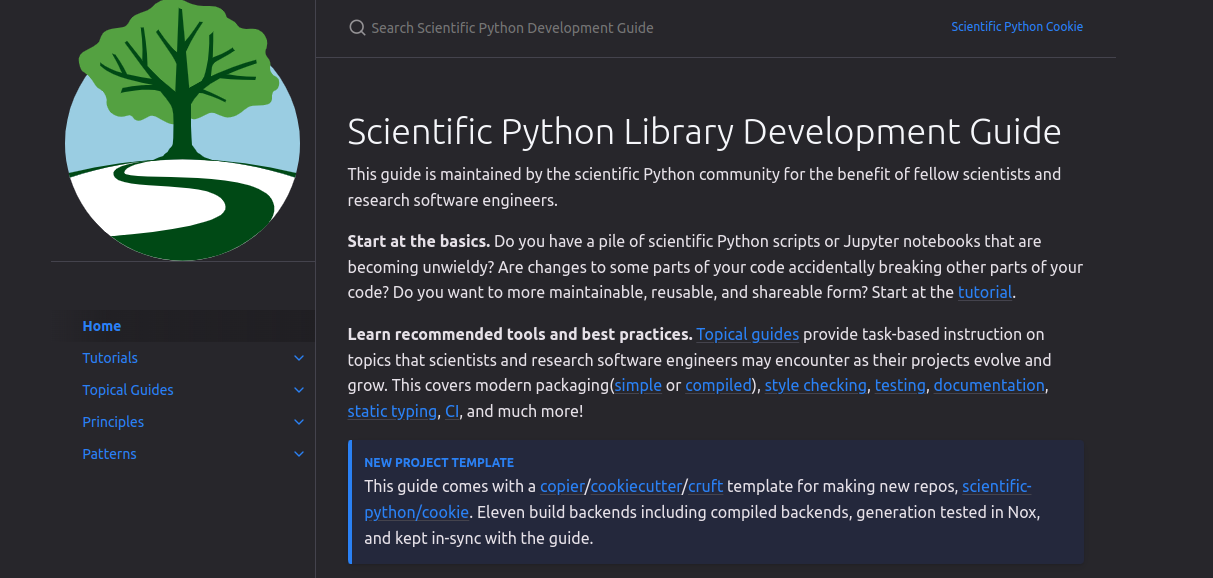
Recommendation: follow community guides
Packaging best practices keep changing (for the better). Instead of maintaining your own lore, follow and engage with the teams building the tools.
Recommendation: collaboration
Find and start working with Research Software Engineers (RSEs).
- Most scientists don’t get excited about learning packaging tools — we just want things to work. RSEs can make that easier, and are enormously knowledgeable.

Summary
- A package makes your code installable, importable, and shareable — no more
sys.path pyproject.tomlis the one file at the center of it all: build backend, metadata, tools- Build → wheel/sdist → PyPI → anyone can
pip installit - Real packages add tests, a license, a DOI, and citation info on top
- In 2026:
uv, SPDX licenses, standardized lock files, and Trusted Publishing make it smoother than ever - Not a hopeless bog of technical debt, but community infrastructure built by people you can collaborate with
Copy the mypackage skeleton and you’ve already started.
References
- Python Packaging User Guide, Packaging Python Projects Tutorial, the PyPA
- Scientific Python Library Development Guide
cookie, Scientific Python- Level Up Your Python, Henry Schreiner
- INTERSECT packaging tutorial
- pyOpenSci Python Package Guide
uvdocumentation- ClimKern, a real-world example